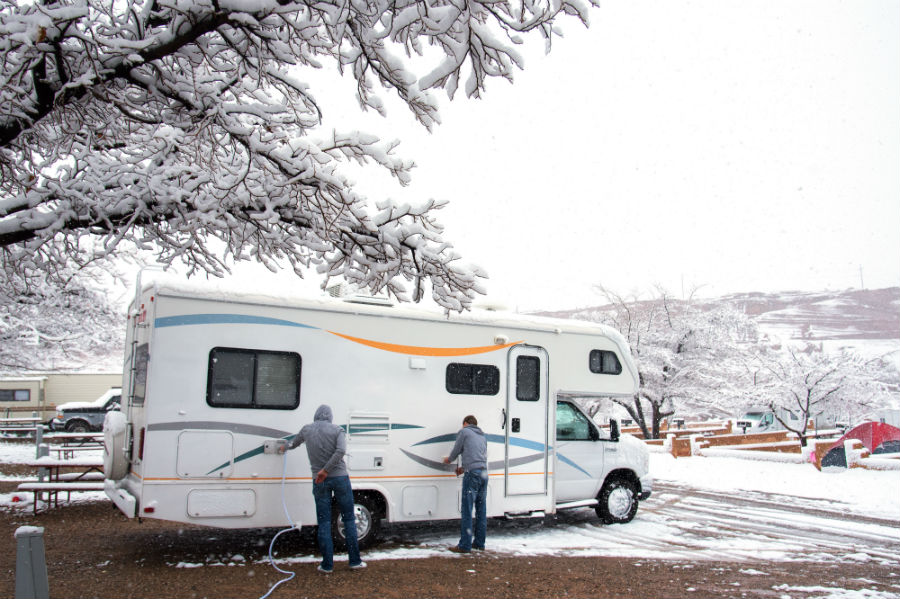
Recreational vehicles are great for travel, fun, and comfort on the go. However, once the cold winter months come the RV will need to be winterized to prevent damage. Winterizing your RV is simply the process of protecting the plumbing parts of your RV, to prevent water from freezing and causing damage to the pipes. While it may not be the most fun process, it is an import one that will save you costly repairs come next spring. My hope here with this guide is to provide sound advice and instruction to help you along that process. That being said, each RV is different and the Owner’s manual will have the final say so on what should be done for your particular RV.
RV Supplies Needed to Winterize Your RV
There are a few things that you will need to get rolling. The supplies listed should be found at a RV parts store or auto parts store.
- Non-Toxic RV/Marine Antifreeze, depending on how big your plumbing layout is you might need more or less, but a few gallons should do.
- A wand to clean out the black water tanks. Some RVs come with a tank flushing system, but if you do not have one it will be necessary to clean it out.
- A water heater bypass kit, unless it already comes on your RV
- A converter kit for the water pump to connect the inlet side.
- Basic hand tools, screwdrivers and the like to remove and install plugs.
Tips to Winterizing your RV
With the supplies gathered, we can start getting your RV ready to be winterized and protected from freezing.
- Remove any inline filters you might have and bypass them as needed
- Find and drain your freshwater holding tank.
- Go to a RV dump and drain and flush your gray and black water tanks. If you don’t have a flush system, this is where the wand will come in use. Though there are some products you can buy that also help with this.
- Be sure to lubricate the termination values with WD40
- Drain the hot water heater tank. Remove the drain plug and open the pressure release valve. Never do this when the water is hot or still under pressure!
- Open all the hot and cold-water values and flush the toilet to clean out the pipes, be sure to do the same for the outside shower if your RV has one equipped.
- Locate the low point drain lines, there should be one for hot and cold water. Open these, and use the water pump to help clear it out. Turn it off after the system is drained.
- Once everything is drained, recap all the drains and close all the faucets.
- By-pass the hot water heater. If you do not have a by-pass system on your RV, then be sure to use a by-pass kit. That way the water heater won’t fill up with antifreeze before it goes through the water lines, wasting six gallons of antifreeze, which we don’t want to do.
- Install the Water pump converter kit to introduce the Nontoxic antifreeze into the lines.
- The pump will pressurize the system and start pumping the RV antifreeze throughout the water system. Start at the water faucet closest to the water pump, and slowly open each valve until the Non-toxic antifreeze appears. Replace the antifreeze container as needed and repeat this on all faucets from the closest to the farthest away. Don’t forget the outside shower, if your RV has one!
- Flush the toilet until the antifreeze appears
- Turn the water pump off and open a faucet to release the pressure. Go outside to the city water inlet. Remove the small screen over the inlet and push in on the valve with a small screwdriver until you see antifreeze. Then be sure to replace the screen.
- Pour a cupful of antifreeze down each drain and into the toilet, and flush it into the holding tank to prevent any remaining water in the tank from freezing.
- If your water heater is equipped with an electric heating element, turn the switch off. This will protect the element if the RV is plugged in while in storage.
- Make sure all faucets are closed once you are finished.
- Some RVs have washer machines and icemakers, please look into your owner’s manual on how to winterize those devices.
With that, we are all done and your RV is ready for storage this winter! Then it will be ready for use to go camping and traveling during the spring and summer!
Here is a video about winterizing your RV.

